
깃허브 블로그(GitHub Blog) 만들기 7 - 댓글 구현
디스커스란
안타깝게도 깃허브 페이지에서는 댓글 기능을 제공하지 않습니다. 그래서 해결방법을 찾아 다니던 와중 디스커스가 다른 기술 블로그들이 쓰던 것과 같은 것여서 이것을 쓰기로 하였습니다.
디스커스(disqus)란 소셜 댓글 서비스로 댓글을 직접 구현하지 않고 위젯의 형태로 삽입할 수 있는 댓글 전문 서비스입니다.
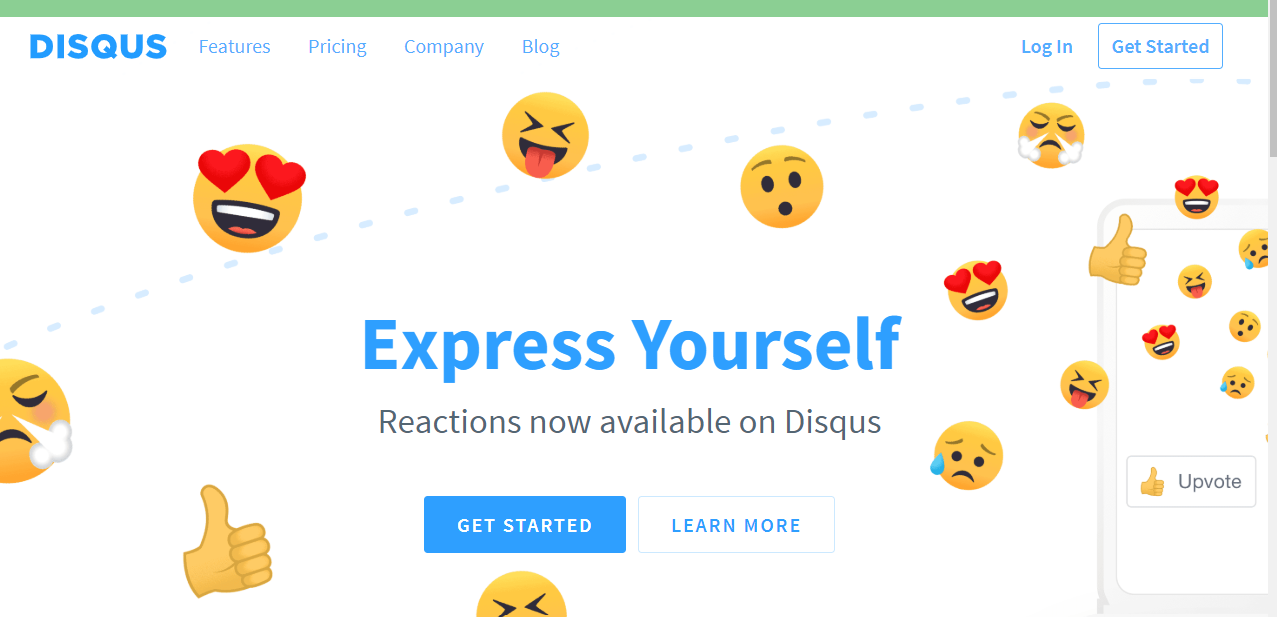
지금부터 디스커스 서비스를 블로그에 추가하는 방법에 대해 설명하겠습니다. 아래의 사진은 처음 디스커스 홈페이지에 접속하면 볼 수 있는 화면입니다. 바로 GET STARTED를 눌러 들어가봅시다.
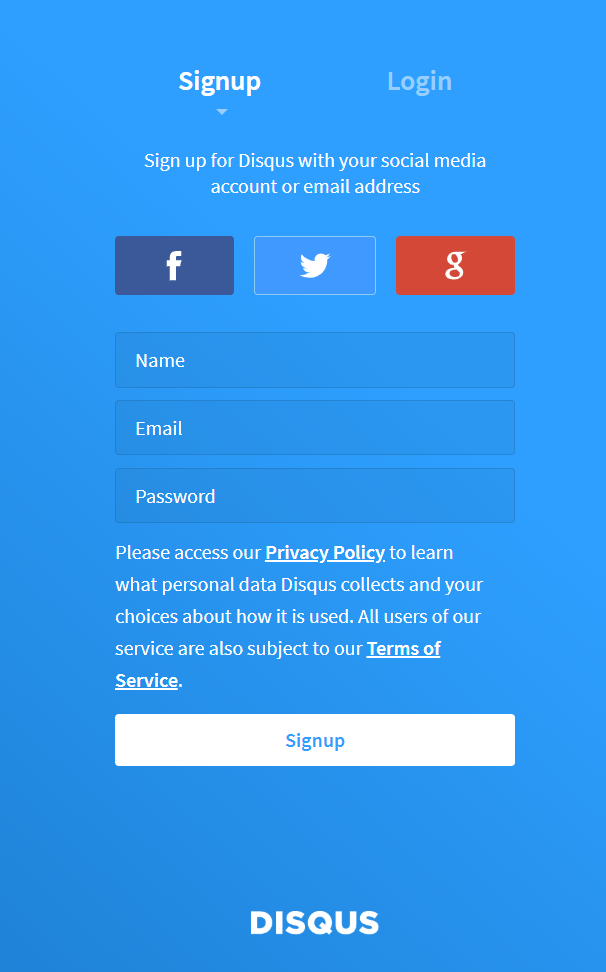
로그인 화면이 반겨주니 로그인 해주고
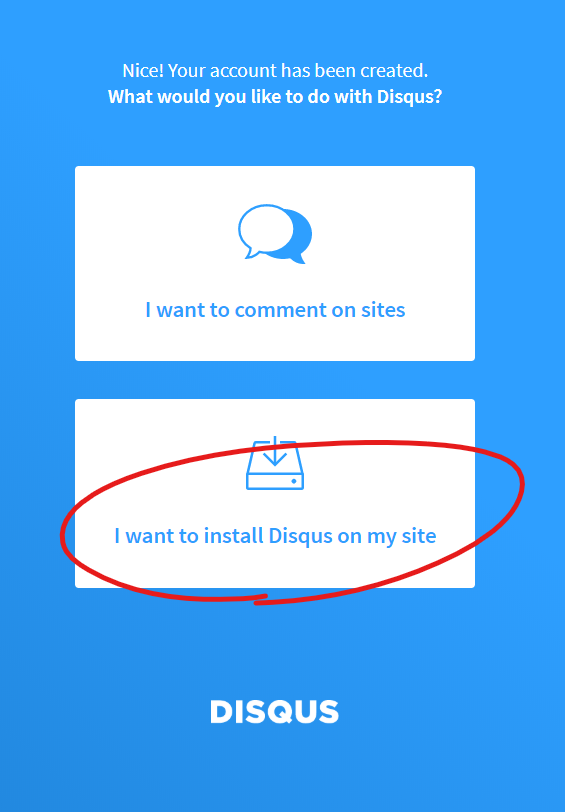
아래의 버튼을 눌러 들어갑시다.
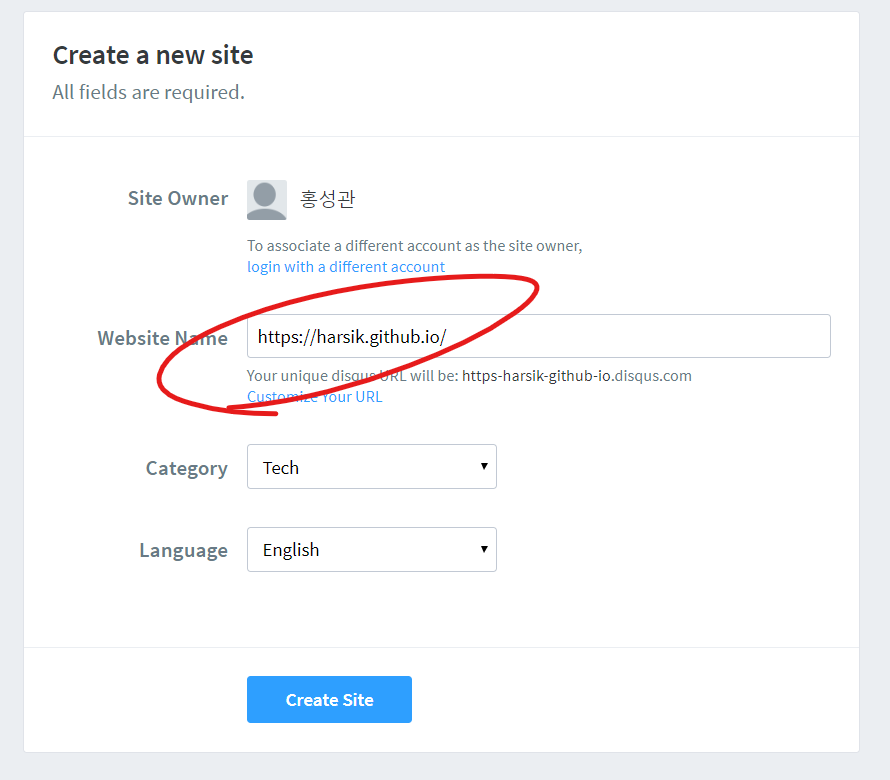
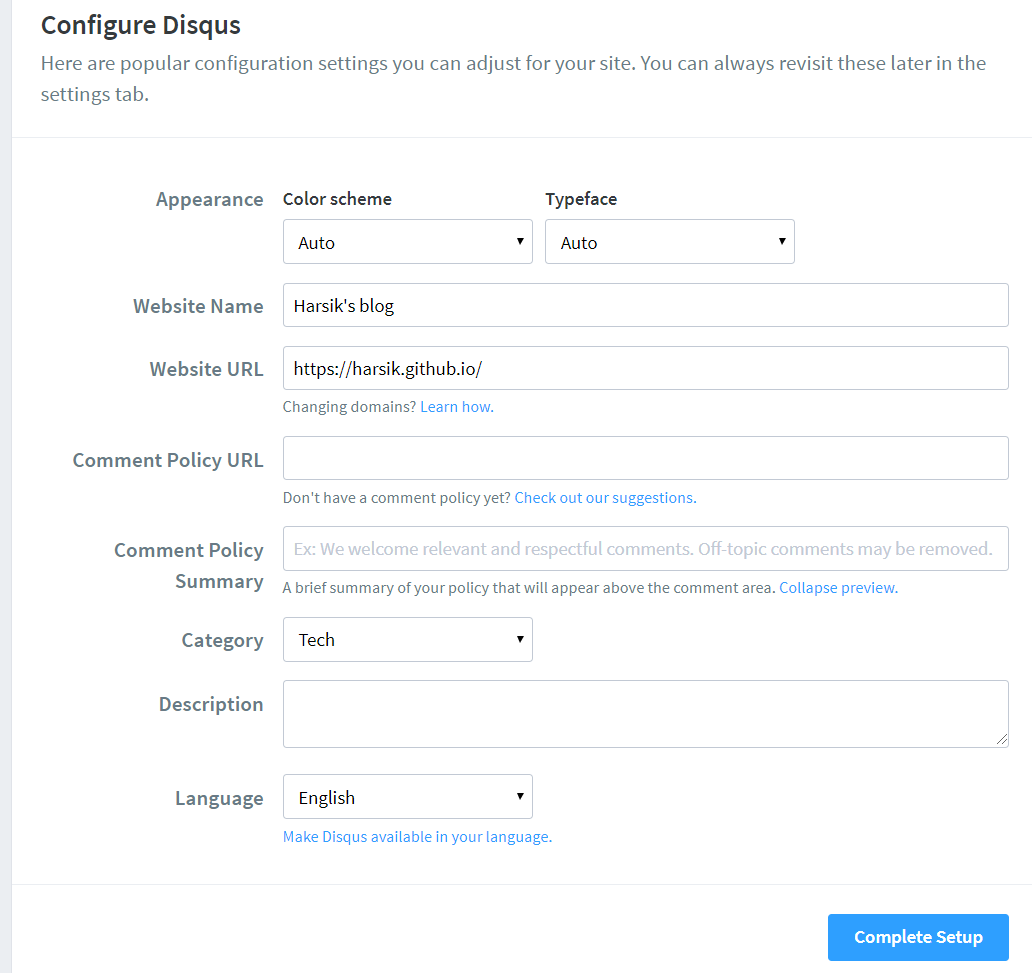
들어가면 사이트 작성에 필요한 프로필 작성을 하게 됩니다.
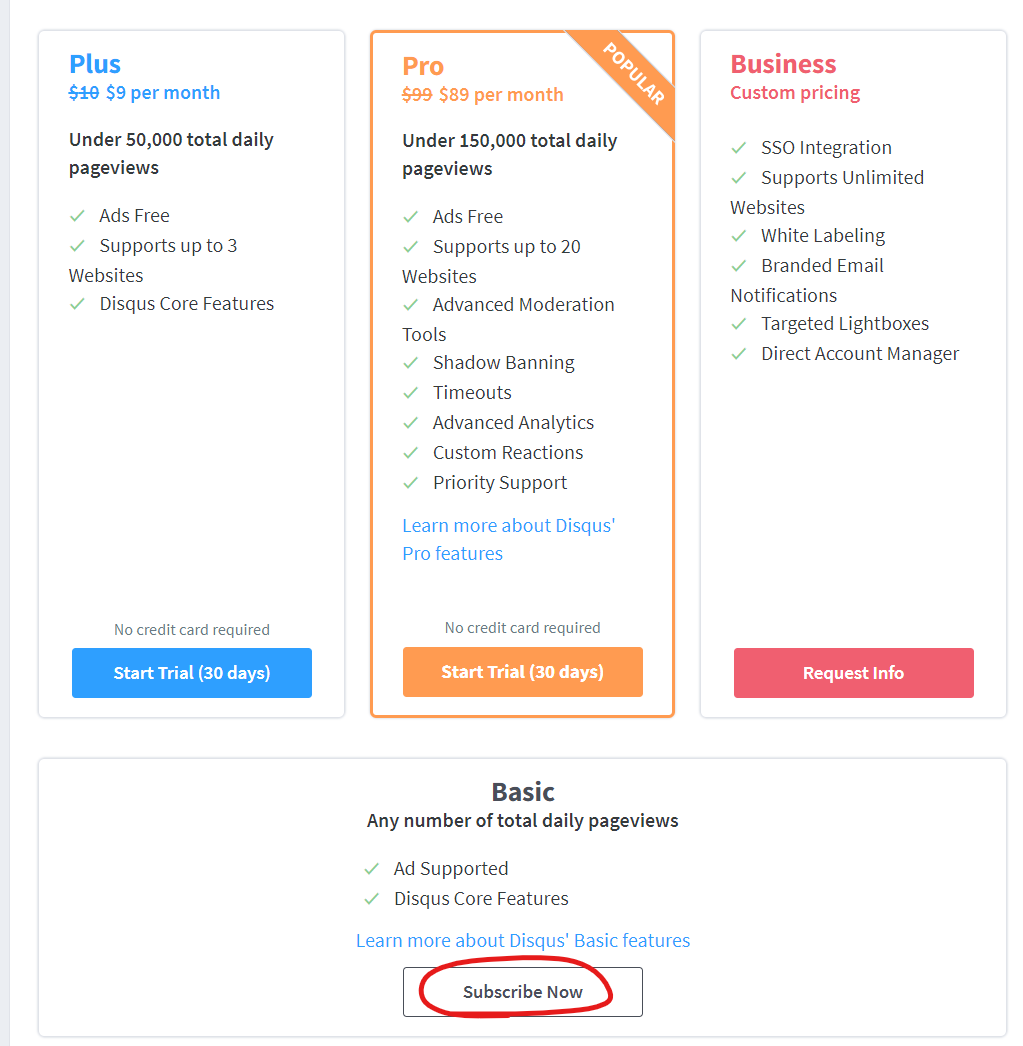
가격정책에 놀랄 수 있지만 광고화면을 포함하는 것으로 사용할 수 있는 방법이 Basic입니다. Subscribe Now를 눌러 들어가 봅시다.
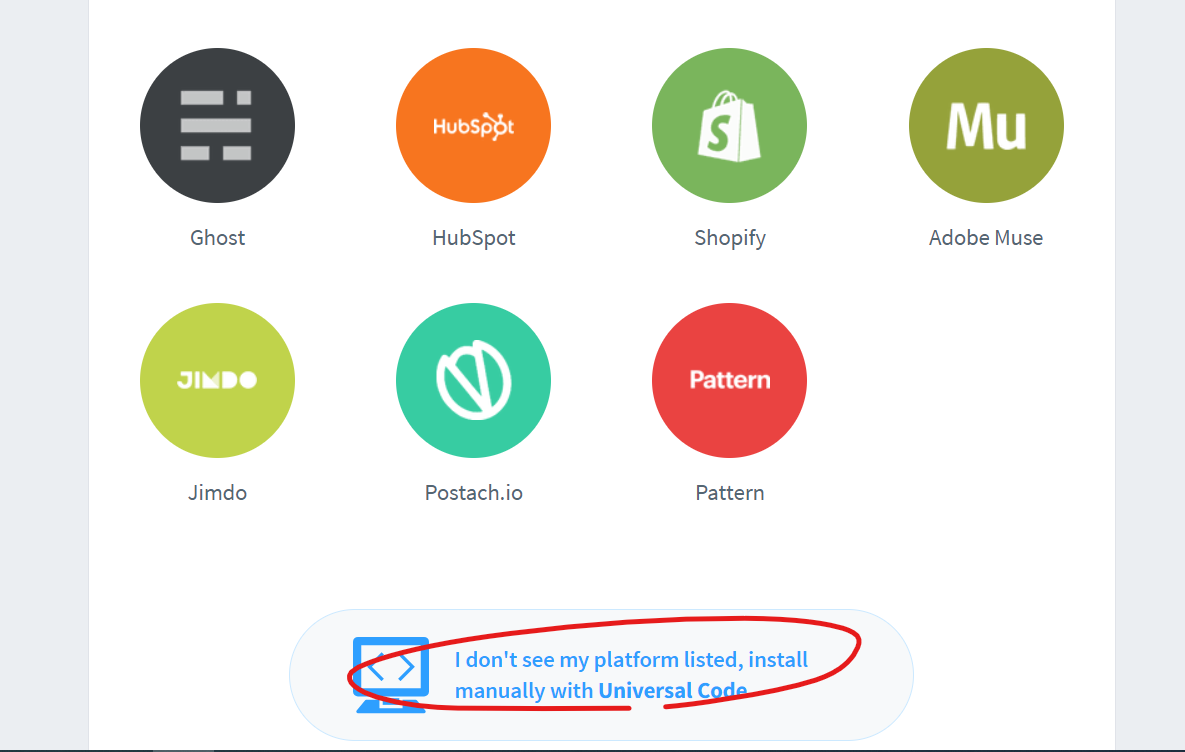
스크롤을 내려 Universal Code를 찾아 들어가고
나오는 코드를 기준으로 작성하면 됩니다. 세팅을 위한 단계가 남아 있으니 마저 진행해 줍시다.
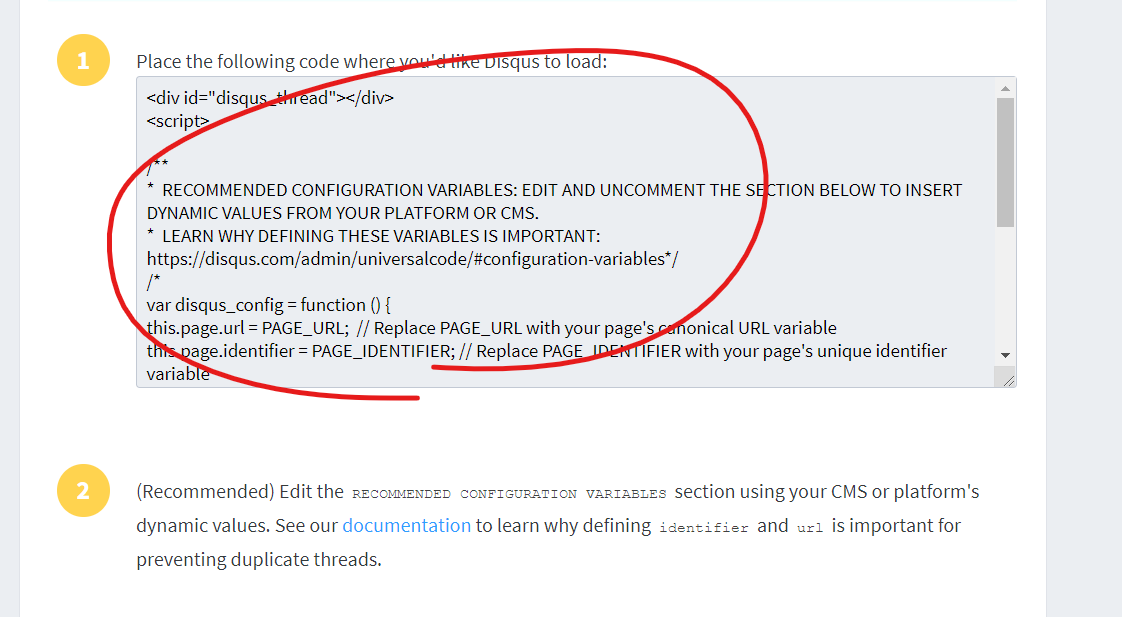

앞에서 나온 코드로 코멘트 화면을 만들어야 합니다. 코멘트를 위한 파일을 작성합시다.
_includes/disqus.html
<div id="disqus_thread"></div>
<script>
/**
*  RECOMMENDED CONFIGURATION VARIABLES: EDIT AND UNCOMMENT THE SECTION BELOW TO INSERT DYNAMIC VALUES FROM YOUR PLATFORM OR CMS.
*  LEARN WHY DEFINING THESE VARIABLES IS IMPORTANT: https://disqus.com/admin/universalcode/#configuration-variables*/
/*
var disqus_config = function () {
this.page.url = PAGE_URL;  // Replace PAGE_URL with your page's canonical URL variable
this.page.identifier = PAGE_IDENTIFIER; // Replace PAGE_IDENTIFIER with your page's unique identifier variable
};
*/
(function() { // DON'T EDIT BELOW THIS LINE
var d = document, s = d.createElement('script');
s.src = 'https://https-harsik-github-io.disqus.com/embed.js';
s.setAttribute('data-timestamp', +new Date());
(d.head || d.body).appendChild(s);
})();
</script>
<noscript>Please enable JavaScript to view the <a href="https://disqus.com/?ref_noscript">comments powered by Disqus.</a></noscript>
이것을 포스트 아래에 추가할 것이기에 post.html에 추가합시다.
post.html
---
layout: default
---
<div class="post">
<header class="post-header">
<h1 class="post-title p-name" itemprop="name headline">{{ page.title }}</h1>
<p class="post-meta">
Posted on {{ page.date | date: "%b %-d, %Y" }}
<i class="material-icons svg-icon">local_offer</i>
{% if page.tags %} {% for tag in page.tags %}
<a class="label" href="{{ '/tags' | prepend: site.baseurl }}"
>#{{ tag }}</a
>
{% endfor %} {% endif %}
</p>
</header>
<div class="post-content e-content" itemprop="articleBody">
{{ content }}
</div>
{% if page.comments %}
<div id="post-disqus" class="container">
{% include disqus.html %}
</div>
{% endif %}
</div>
설정파일에 환경변수를 추가하고 각 포스트에 comments: true를 추가하면 댓글기능이 활성화 될 것입니다.
_config.yml
#Disqus Comment
disqus_url: disqus url
disqus_id: disqus id
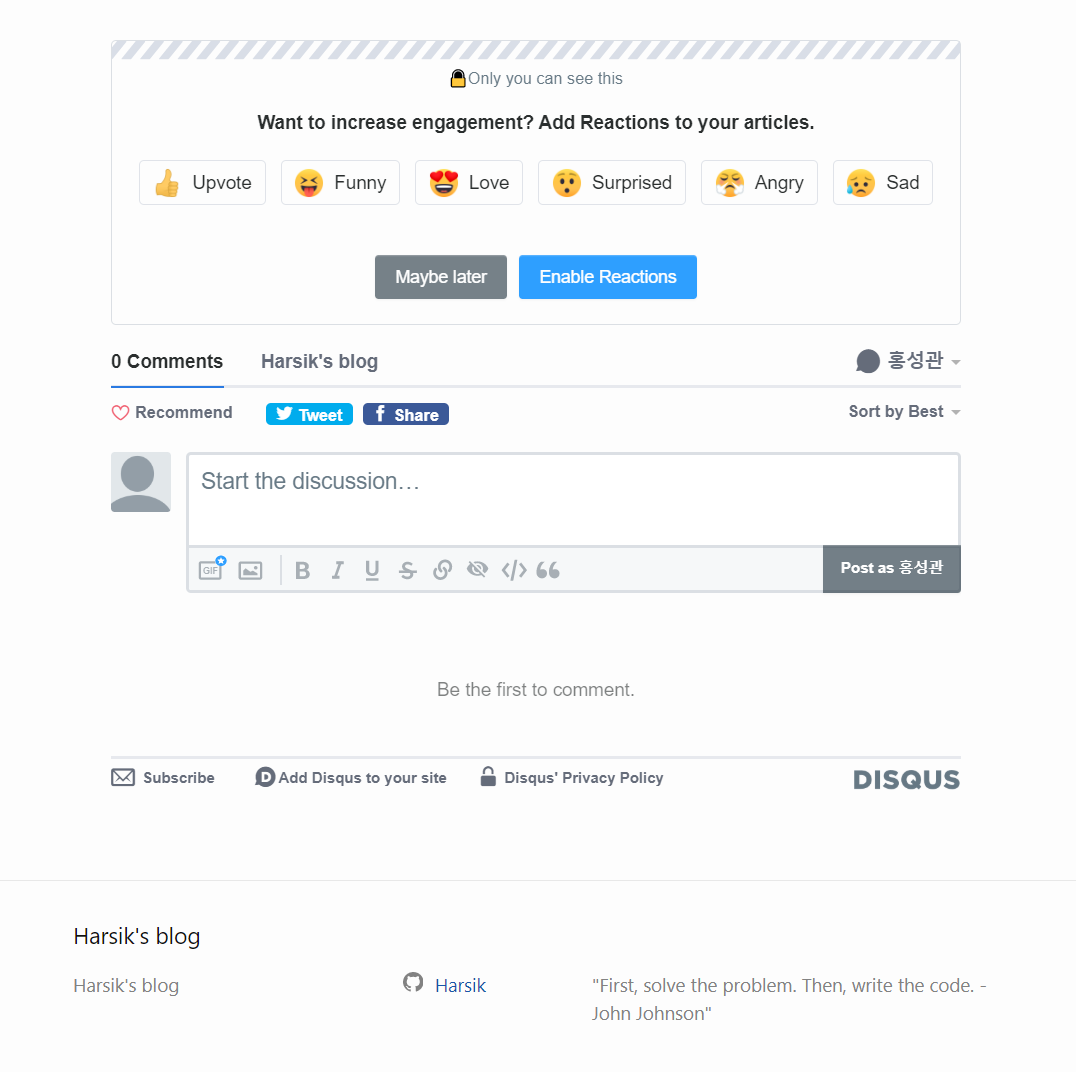
디스커스를 이용하면 이처럼 간단하게 블로그에 댓글 기능을 추가할 수 있습니다.