
깃허브 블로그(GitHub Blog) 만들기 4 - 카테고리 기능 구현
카테고리 만들기에 앞서
지금 화면이 스타일을 맞추기 전에 임시로 만들어 놓은 것이기 때문에 보기에 불편할겁니다. 그래서 어느정도 스타일을 맞추기 위해 화면을 조정해봅시다.
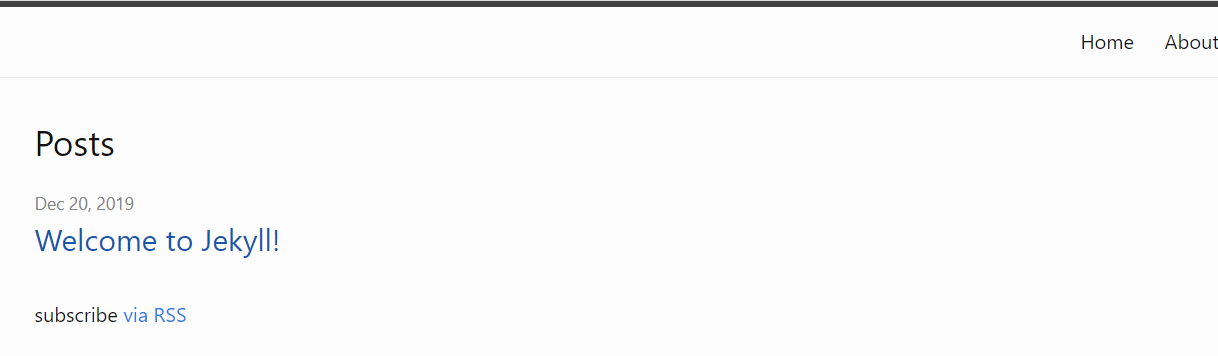
위 사진은 처음 만들었던 템플릿의 모습입니다. 지금은 템플릿을 고칠 수 없기 때문에 이 모습을 참고하여 화면들을 만들어 볼 것입니다. 우선 화면을 헤더, 디폴트, 풋터순으로 구분하고 디폴트부터 만들어보겠습니다.
default.html
<!DOCTYPE html>
<html>
	{% include head.html %}
	<body>
		{% include header.html %}
		<main class="page-content" aria-label="Content">
			<div class="wrapper">
				<div class="page-content">
					<div class="wrapper">
						{{ content }}
					</div>
				</div>
			</div>
		</main>
		{% include footer.html %}
	</body>
</html>
head 태그에 해당하는 부분을 분리하여 head.html 파일로 관리할 겁니다.
head.html
<head>
<meta charset="utf-8">
<meta http-equiv="X-UA-Compatible" content="IE=edge">
<meta name="viewport" content="width=device-width, initial-scale=1"><!-- Begin Jekyll SEO tag v2.6.1 -->
<title>{% if page.title %}{{ page.title }}{% else %}{{ site.title }}{% endif %}</title>
<meta name="generator" content="Jekyll v4.0.0" />
<meta property="og:title" content="{% if page.title %}{{ page.title }}{% else %}{{ site.title }}{% endif %}" />
<meta property="og:locale" content="en_KR" />
<meta name="description" content="{{ site.description }}">
<meta property="og:description" content="{{ site.description }}">
<link rel="canonical" href="{{ page.url | replace:'index.html','' | prepend: site.baseurl | prepend: site.url }}">
<meta property="og:url" content="{% if page.baseurl %}{{ page.baseurl }}{% else %}{{ site.baseurl }}{% endif %}" />
<meta property="og:site_name" content="{% if page.site_name %}{{ page.site_name }}{% else %}{{ site.site_name }}{% endif %}" />
<script type="application/ld+json">
{"url":"http://localhost:4001/","headline":"Your awesome title","description":"Write an awesome description for your new site here. You can edit this line in _config.yml. It will appear in your document head meta (for Google search results) and in your feed.xml site description.","name":"Your awesome title","@type":"WebSite","@context":"https://schema.org"}</script>
<!-- End Jekyll SEO tag -->
<link rel="stylesheet" href="{{ "/assets/main.css" | prepend: site.baseurl }}" />
<link type="application/atom+xml" rel="alternate" href="{{ "/feed.xml" | prepend: site.baseurl }}" title="{% if page.title %}{{ page.title }}{% else %}{{ site.title }}{% endif %}" />
</head>
body 부분에서 header 또한 따로 나누겠습니다.
header.html
<header class="site-header" role="banner">
	<div class="wrapper">
		<a class="site-title" rel="author" href="/">{{ site.title }}</a>
		<nav class="site-nav">
			<input type="checkbox" id="nav-trigger" class="nav-trigger" />
			<label for="nav-trigger">
				<span class="menu-icon">
					<svg viewBox="0 0 18 15" width="18px" height="15px">
						<path
							d="M18,1.484c0,0.82-0.665,1.484-1.484,1.484H1.484C0.665,2.969,0,2.304,0,1.484l0,0C0,0.665,0.665,0,1.484,0 h15.032C17.335,0,18,0.665,18,1.484L18,1.484z M18,7.516C18,8.335,17.335,9,16.516,9H1.484C0.665,9,0,8.335,0,7.516l0,0 c0-0.82,0.665-1.484,1.484-1.484h15.032C17.335,6.031,18,6.696,18,7.516L18,7.516z M18,13.516C18,14.335,17.335,15,16.516,15H1.484 C0.665,15,0,14.335,0,13.516l0,0c0-0.82,0.665-1.483,1.484-1.483h15.032C17.335,12.031,18,12.695,18,13.516L18,13.516z"
						/>
					</svg>
				</span>
			</label>
			<div class="trigger">
				<a class="page-link" href="{{ site.baseurl }}/">Home</a>
				<a class="page-link" href="{{ site.baseurl }}/about">About</a>
			</div>
		</nav>
	</div>
</header>
다음은 본문 즉 main 태그 부분입니다. 이 부분은 실질적으로 index.html가 담당하는 부분과 같기 때문에 따로 파일을 두지 않고 index.html 파일을 사용하겠습니다.
index.html
---
layout: default
---
<div class="home">
	<h2 class="post-list-heading">{{ site.title }}</h2>
	<ul class="post-list">
		{% for post in site.posts %}
		<li>
			<span class="post-meta">{{ post.date | date: "%b %-d, %Y" }}</span>
			<h3>
				<a class="post-link" href="{{ post.url | prepend: site.baseurl }}"
					>{{ post.title }}</a
				>
			</h3>
		</li>
		{% endfor %}
	</ul>
</div>
다음 footer 부분입니다.
footer.html
<footer class="site-footer h-card">
	<data class="u-url" href="/"></data>
	<div class="wrapper">
		<h2 class="footer-heading">{{ site.title }}</h2>
		<div class="footer-col-wrapper">
			<div class="footer-col footer-col-1">
				<ul class="contact-list">
					<li class="p-name">{{ site.title }}</li>
					<li>
						<a class="u-email" href="{{ site.email_address }}"
							>{{ site.email_address }}</a
						>
					</li>
				</ul>
			</div>
			<div class="footer-col footer-col-2">
				<ul class="social-media-list">
					<li>
						<a href="{{ site.github_address }}"
							><svg class="svg-icon">
								<use xlink:href="/assets/minima-social-icons.svg#github"></use>
							</svg>
							<span class="username">{{ site.github_username }}</span></a
						>
					</li>
				</ul>
			</div>
			<div class="footer-col footer-col-3">
				<p>
					{{ site.description}}
				</p>
			</div>
		</div>
	</div>
</footer>
config 변수들을 적용하기 위해서 _config.yml을 조금 수정하겠습니다.
footer.html
# Welcome to Jekyll!
#
# This config file is meant for settings that affect your whole blog, values
# which you are expected to set up once and rarely edit after that. If you find
# yourself editing this file very often, consider using Jekyll's data files
# feature for the data you need to update frequently.
#
# For technical reasons, this file is *NOT* reloaded automatically when you use
# 'bundle exec jekyll serve'. If you change this file, please restart the server process.
#
# If you need help with YAML syntax, here are some quick references for you:
# https://learn-the-web.algonquindesign.ca/topics/markdown-yaml-cheat-sheet/#yaml
# https://learnxinyminutes.com/docs/yaml/
#
# Site settings
# These are used to personalize your new site. If you look in the HTML files,
# you will see them accessed via Harsik's blog, , and so on.
# You can create any custom variable you would like, and they will be accessible
# in the templates via .
title: Harsik's blog
email: aznm12@archivsoft.com
description: >- # this means to ignore newlines until "baseurl:"
  Write an awesome description for your new site here. You can edit this
  line in _config.yml. It will appear in your document head meta (for
  Google search results) and in your feed.xml site description.
baseurl: "" # the subpath of your site, e.g. /blog
url: "" # the base hostname & protocol for your site, e.g. http://example.com
twitter_username: jekyllrb
github_username:  Harsik
github_address: https://github.com/Harsik
# Build settings
theme: minima
plugins:
  - jekyll-feed
# Exclude from processing.
# The following items will not be processed, by default.
# Any item listed under the `exclude:` key here will be automatically added to
# the internal "default list".
#
# Excluded items can be processed by explicitly listing the directories or
# their entries' file path in the `include:` list.
#
# exclude:
#   - .sass-cache/
#   - .jekyll-cache/
#   - gemfiles/
#   - Gemfile
#   - Gemfile.lock
#   - node_modules/
#   - vendor/bundle/
#   - vendor/cache/
#   - vendor/gems/
#   - vendor/ruby/
이제 화면들을 바꿀 수 있는 준비가 되었습니다. 이 다음은 카테고리 기능을 추가하겠습니다.
카테고리 목표
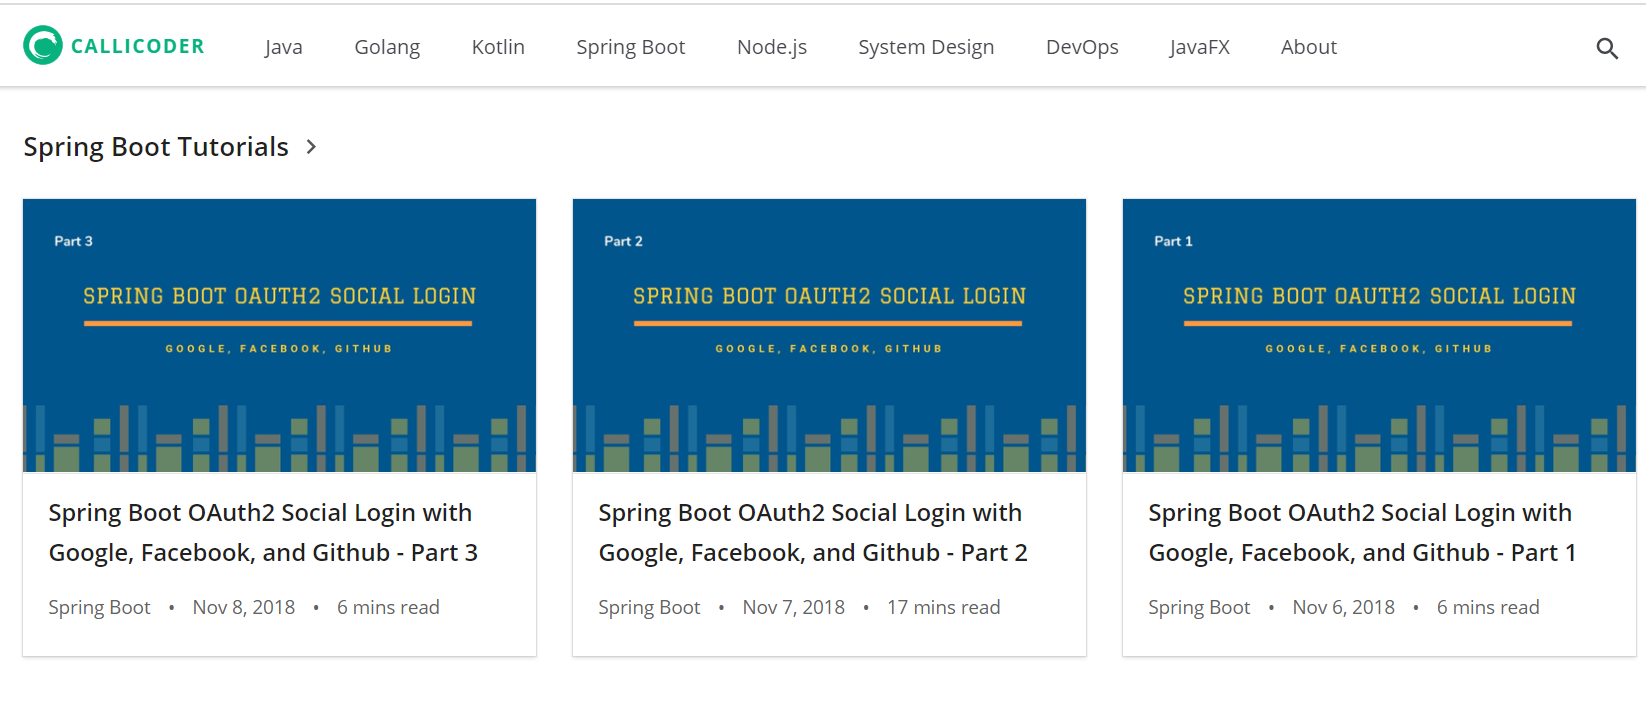
위 사진은 제가 목표로 하고 있는 칼리코더라는 사람의 블로그입니다. 헤더에 있는 것들이 카테고리 분류이며 클릭하면 각 카테고리에 해당하는 게시물을 밑 본문에 보여주게 됩니다. 최대한 비슷하게 만들어 볼 생각입니다.
만약 포스트가 매우 많아지게 되면 페이징기능을 추가하거나 카테고리 레벨을 늘려볼 생각입니다. 일단 가벼운 기능부터 구현하는 것을 목적으로 잡고 시작해봅시다.
카테고리 만들기
프로젝트 내에 폴더가 있으면 엔진이 같은 위치에 컴파일하여 category라는 폴더를 만들고 카테고리 이름으로 마크다운 파일을 만들어야 합니다.
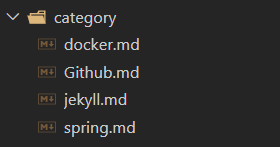
Github.md
---
layout: category
title: Github
---
다음은 카테고리에 해당하는 주소에 표시할 화면을 만들어야 합니다. _layout 폴더에 category.html을 생성하겠습니다.
category.html
---
layout: default
---
<div class="home">
	{% assign category = page.category | default: page.title %}
	<h2 class="post-list-heading">{{ category }}</h2>
	<ul class="post-list">
		{% for post in site.categories[category] %}
		<li>
			<span class="post-meta">{{ post.date | date: "%b %-d, %Y" }}</span>
			<h3>
				<a class="post-link" href="{{ post.url | prepend: site.baseurl }}"
					>{{ post.title }}</a
				>
			</h3>
		</li>
		{% endfor %}
	</ul>
</div>
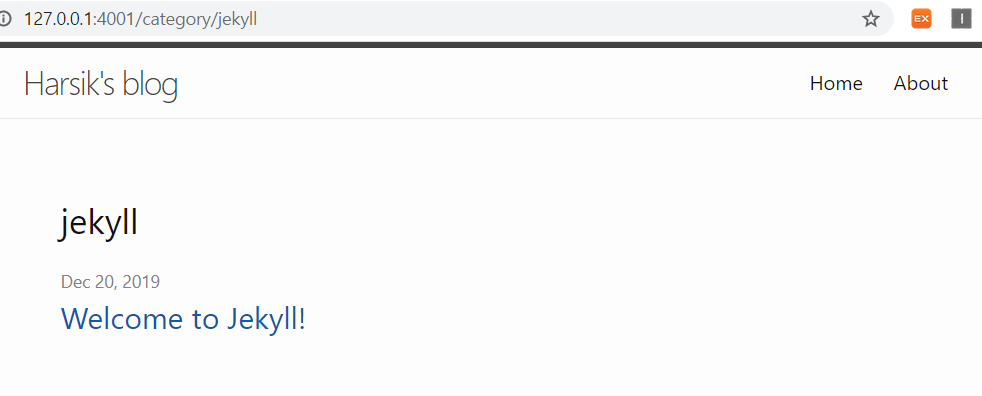
이제 포스트의 categories로 jekyll을 넣고 /category/jekyll주소로 접근해봅시다. 지금은 템플릿에 첫 포스트가 jekyll을 카테고리로 갖고 있기에 그 포스트만이 리스트에 있을겁니다.
이제 접근하도록 스위치를 만들면 됩니다. 헤더파일에서 home 주소를 링크하고 있던 부분을 바꾸도록 합시다.
<a class="page-link" href="/">Home</a>
->
<a class="page-link" href="/category/jekyll">Jekyll</a>
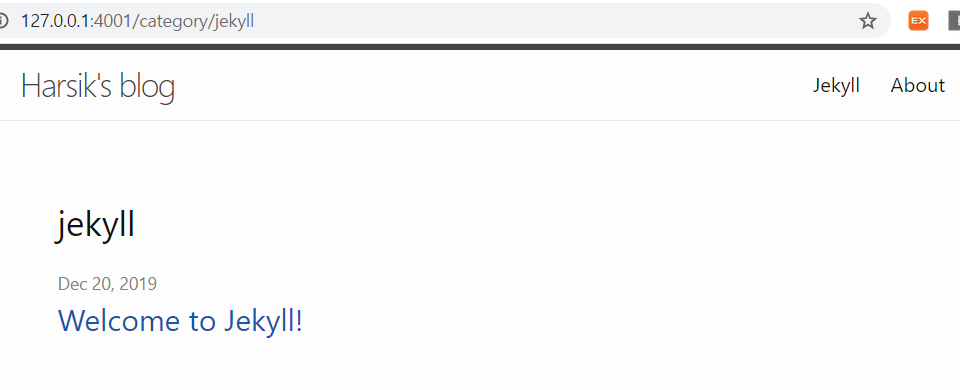
카테고리 하나를 만들었습니다. 만약 더 추가하고 싶다면 위에서 하던 것처럼 추가하면 됩니다. 다음 포스트에서는 태그 기능을 추가하는 방법에 대해 다루어 보도록 하겠습니다.